Creating a computed field
You can create up to 3 fields
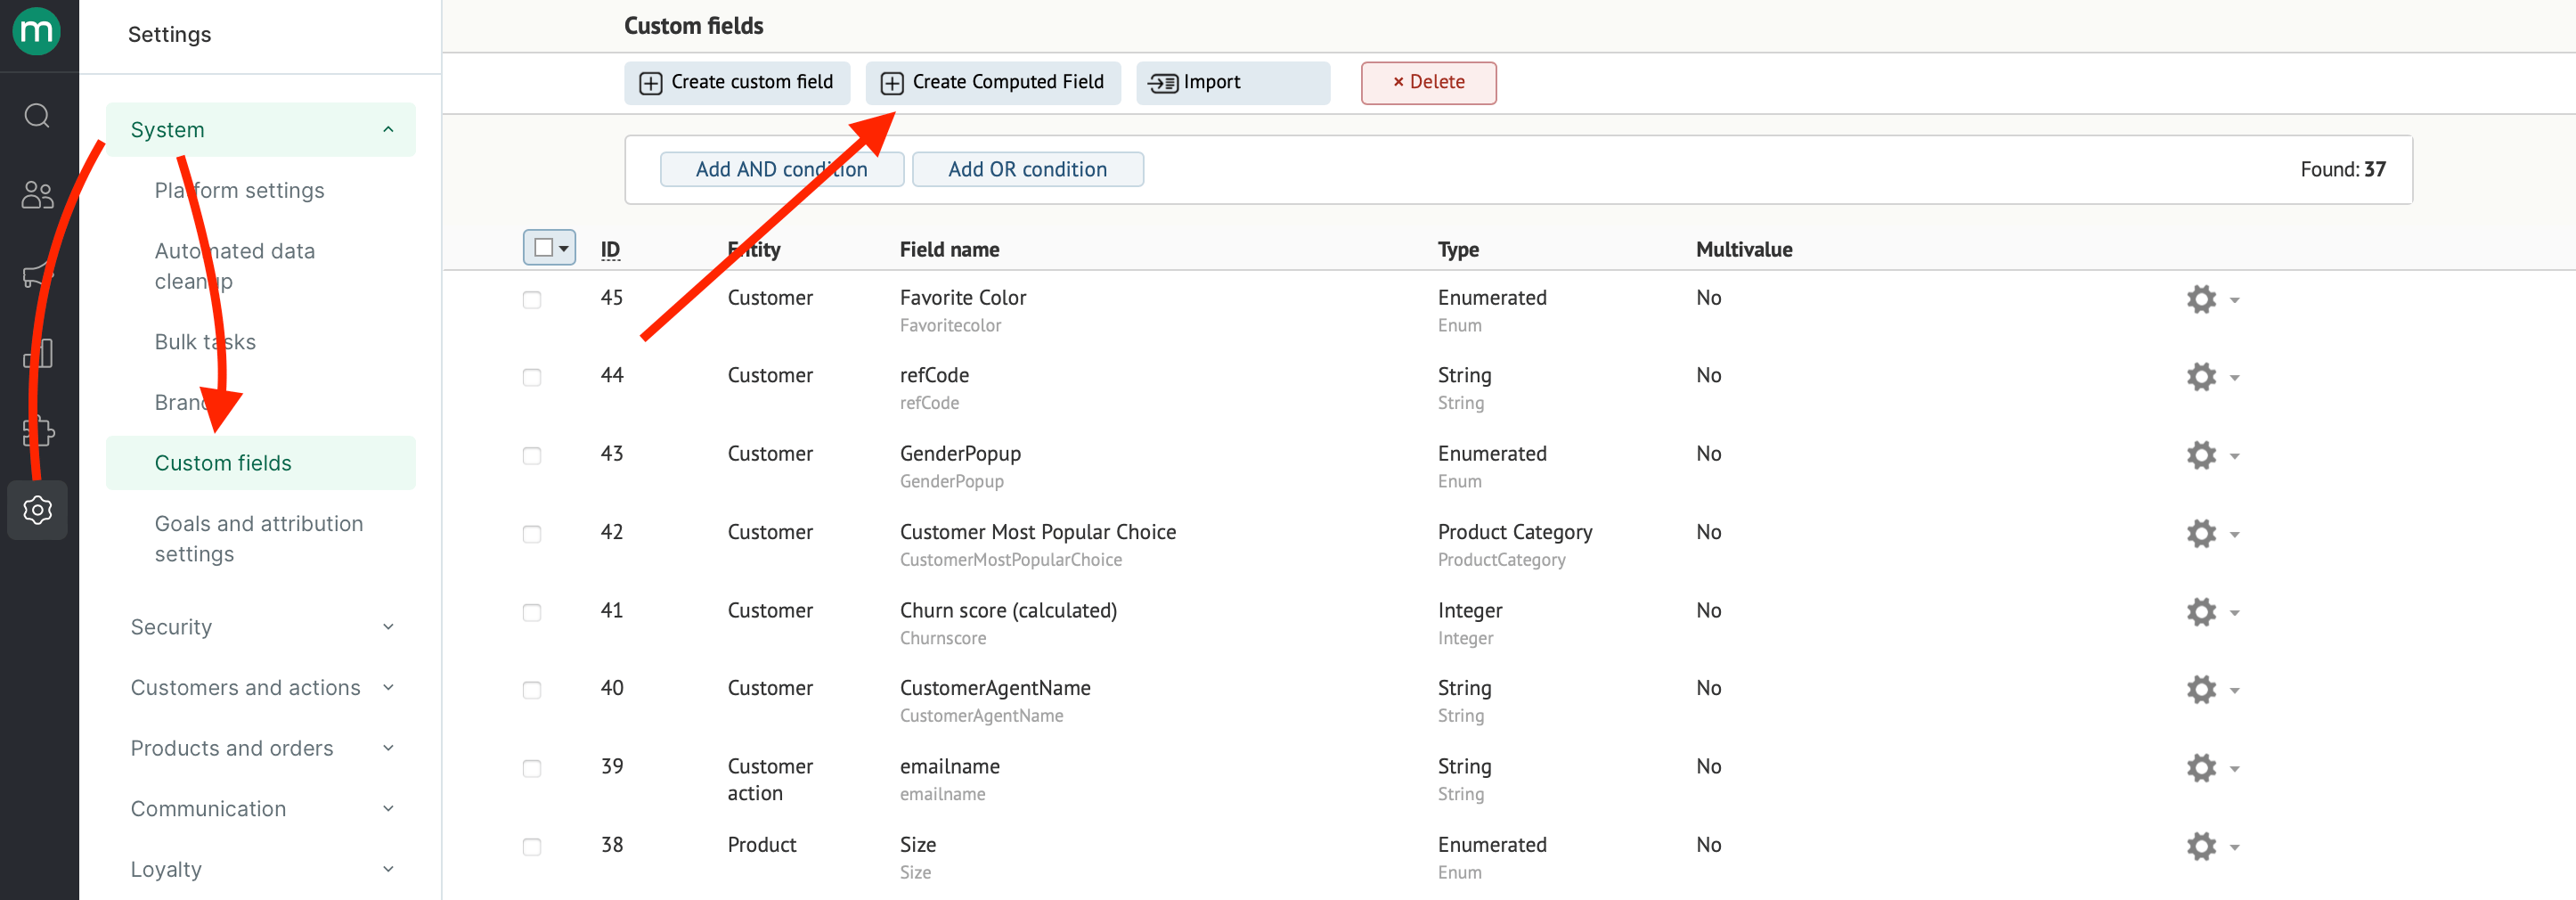
- Go to the Settings tab → System settings → Custom fields and click “Create computed field”:
- Fill in the settings:
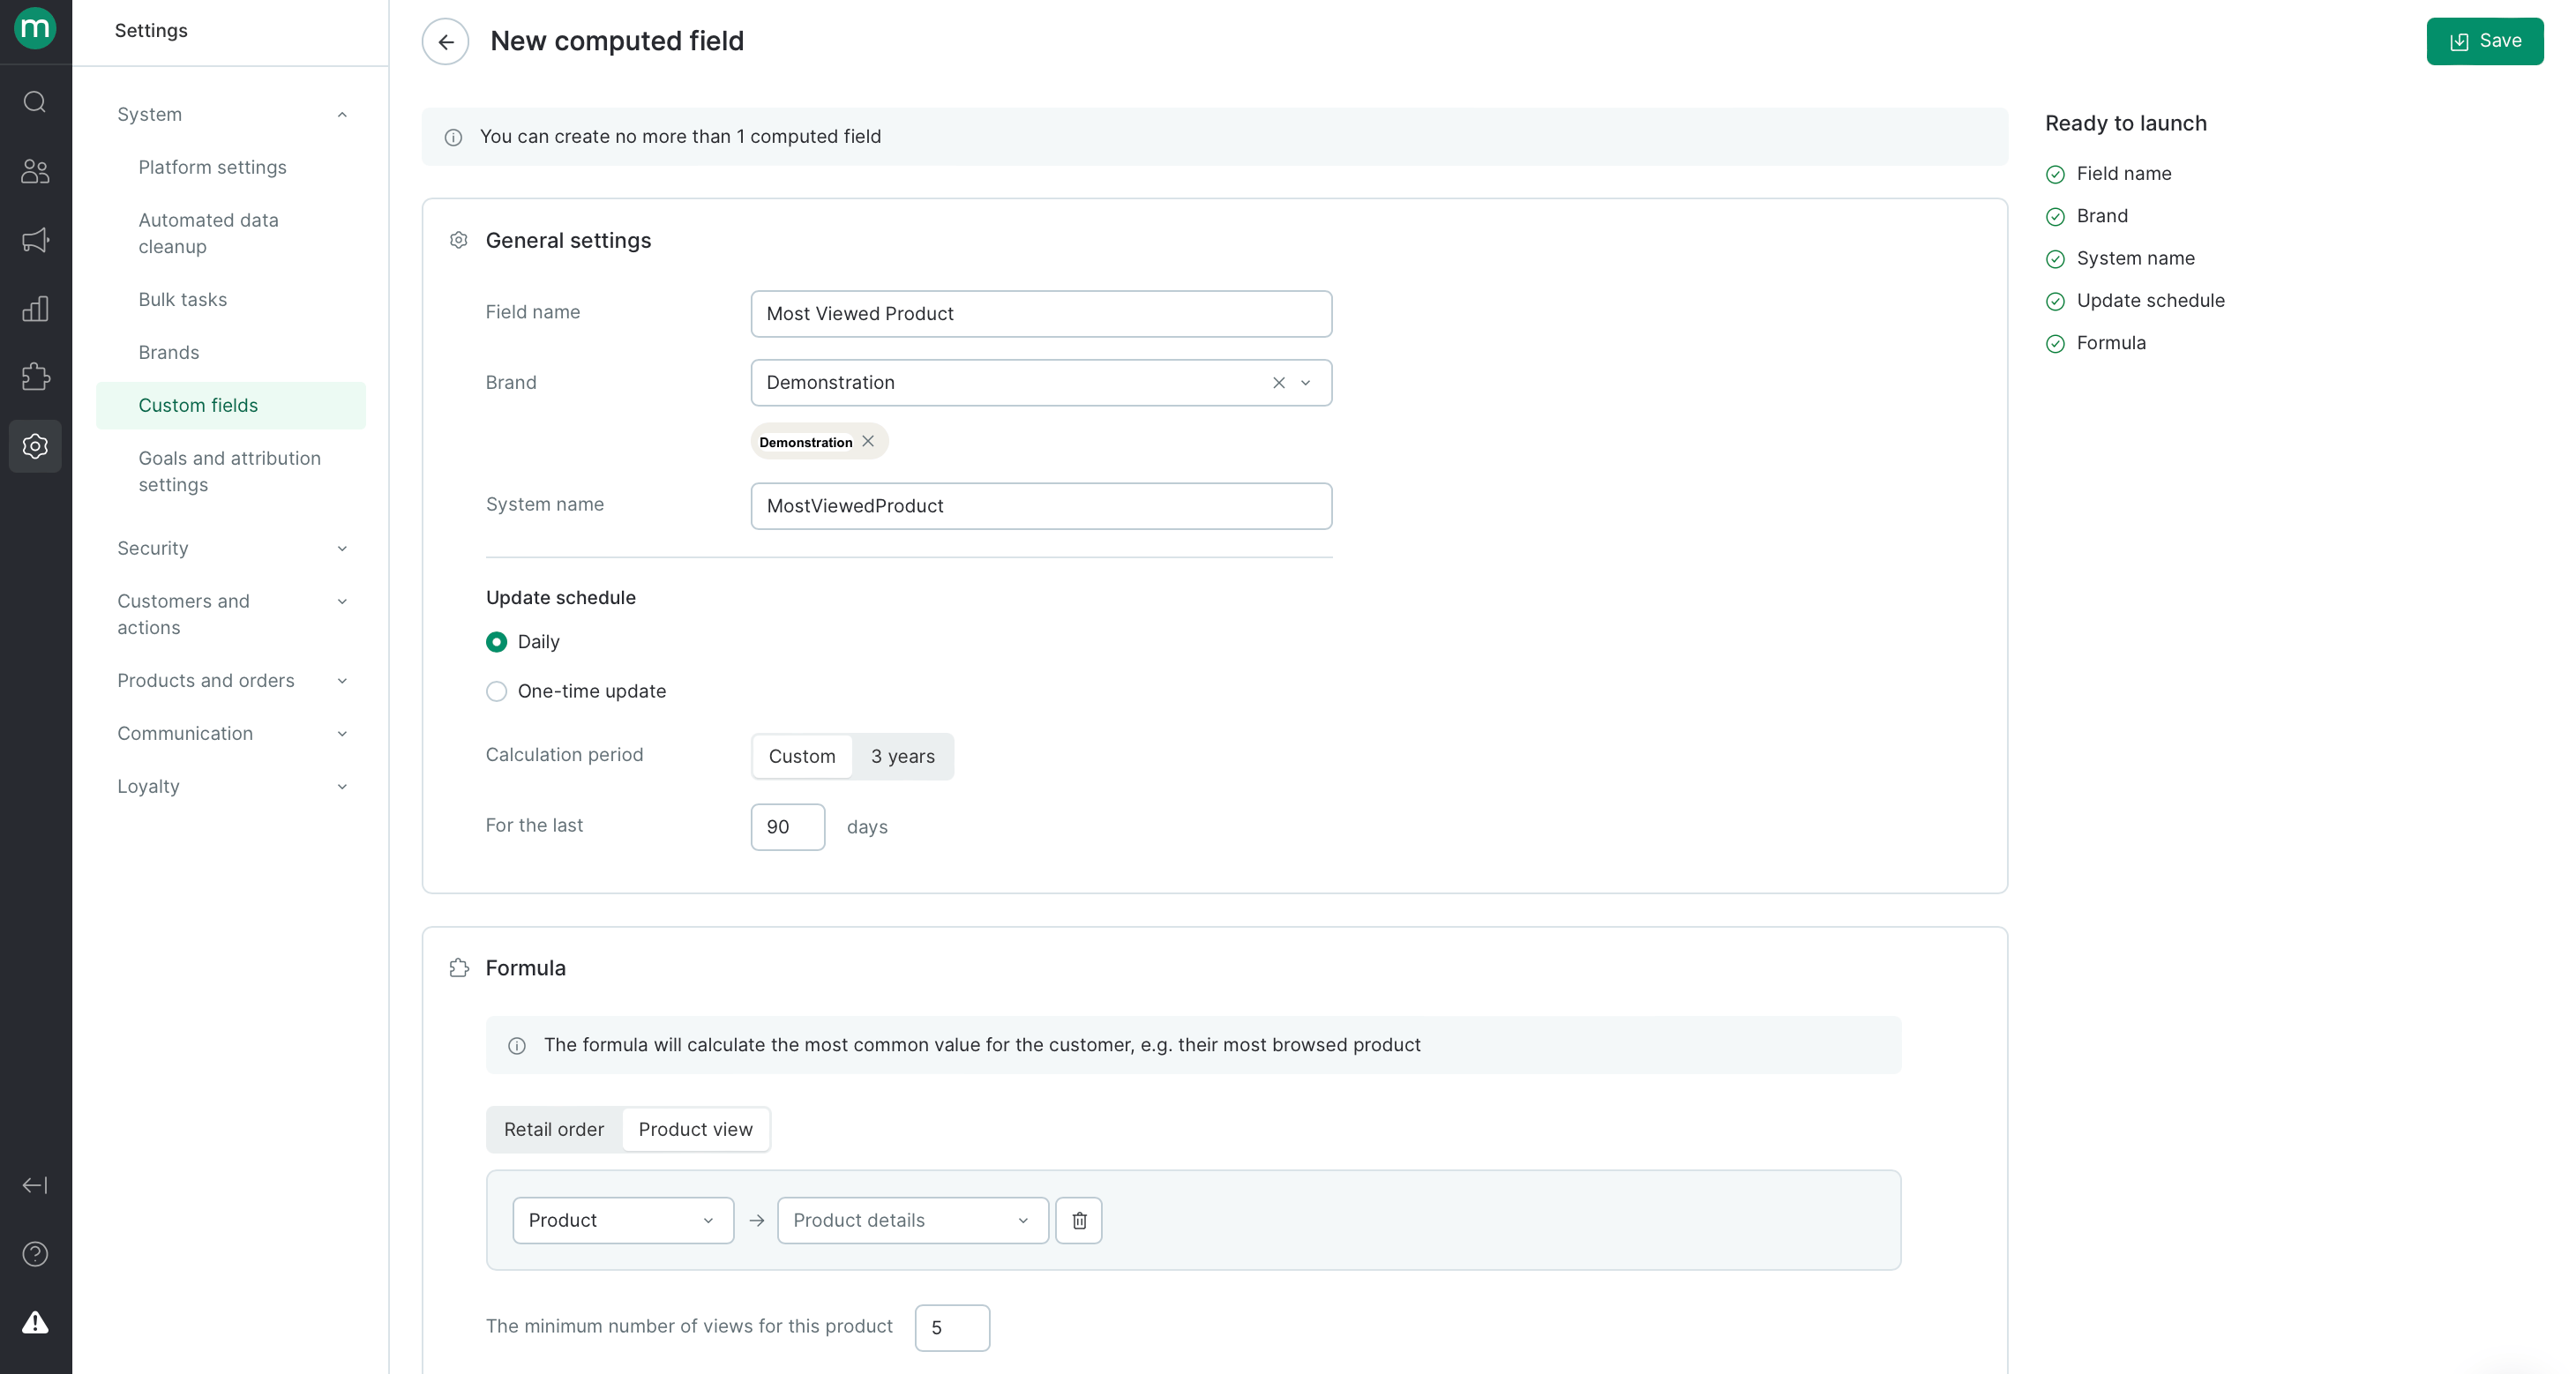
General settings
- Name — the same as displayed in filters or campaigns
- Brand
- System name — is used in integrations and the message template engine
Recalculating
- Frequency is daily or just once (per all the time the field exists)
- Period is the data time frame you want to use in your report.
Formula
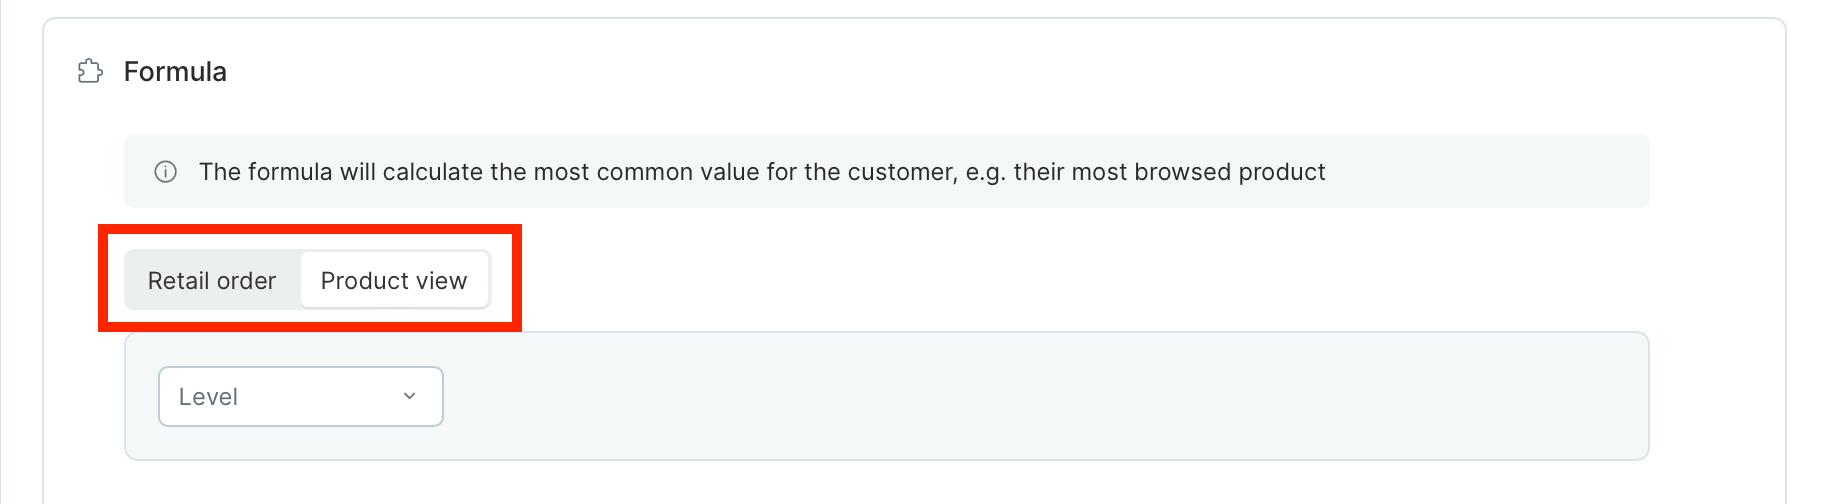
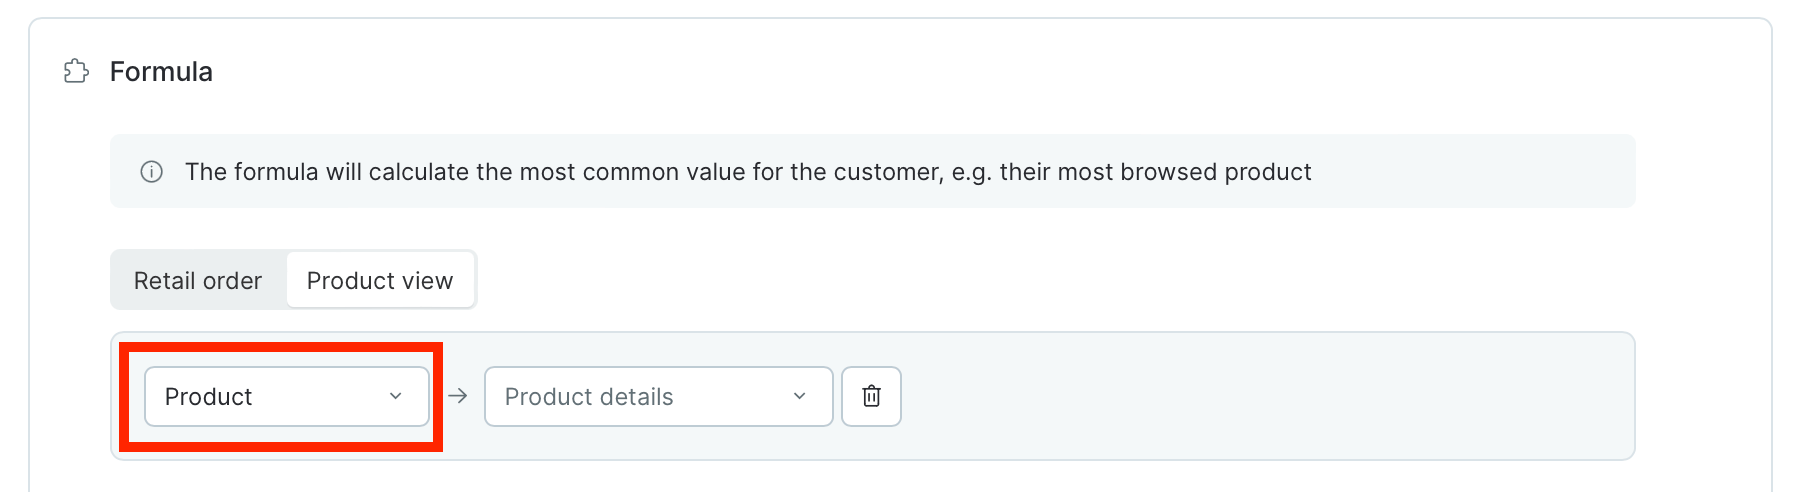
- Choose what type of events to collect data for: views or orders
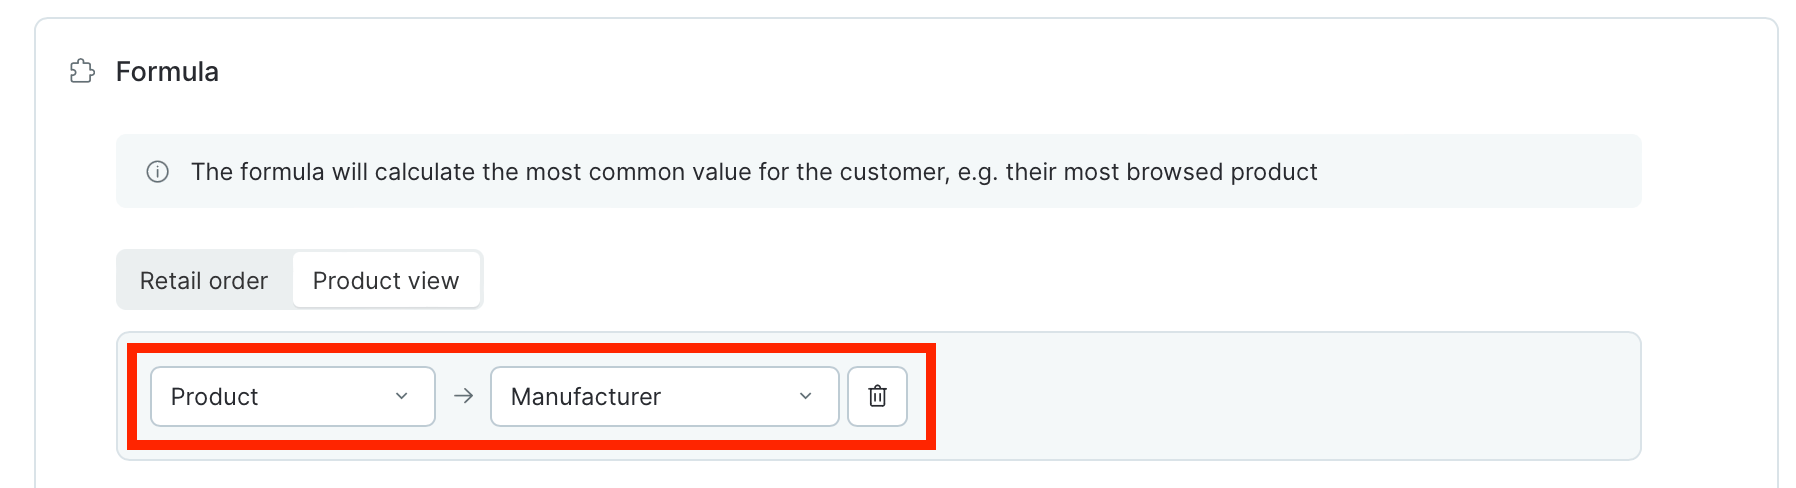
- Choose which entity to search in processed data — it will be filled in customer’s calculated field.
- Product
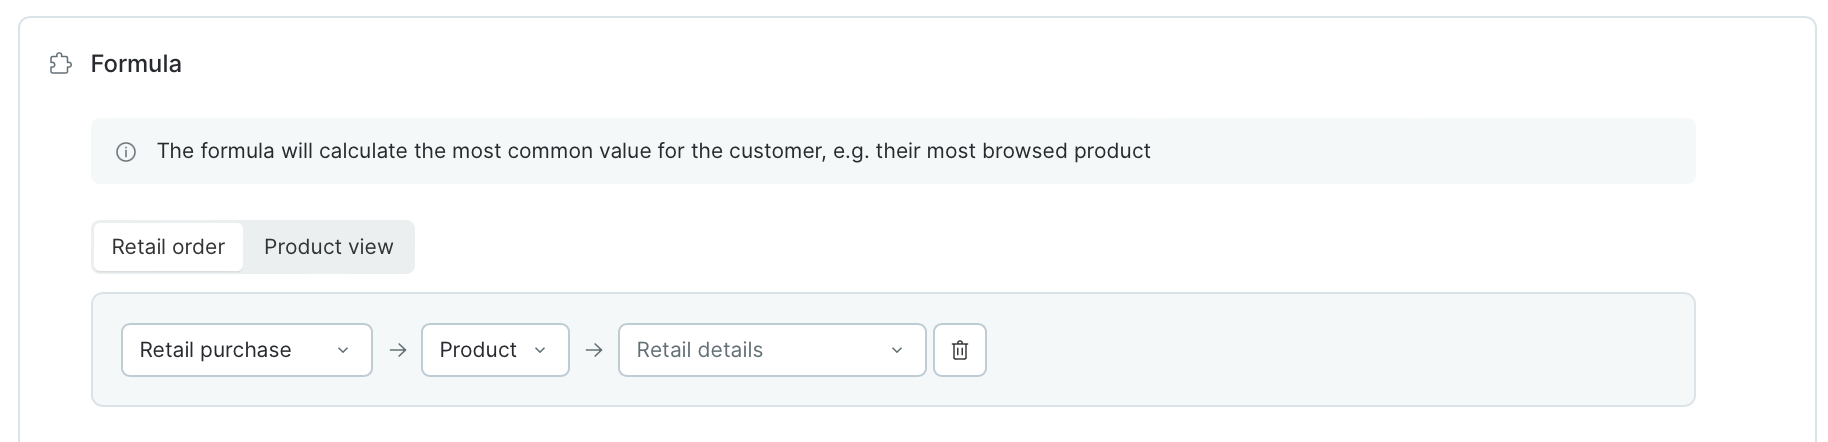
- Category — you need to select categories among which the calculation will take place
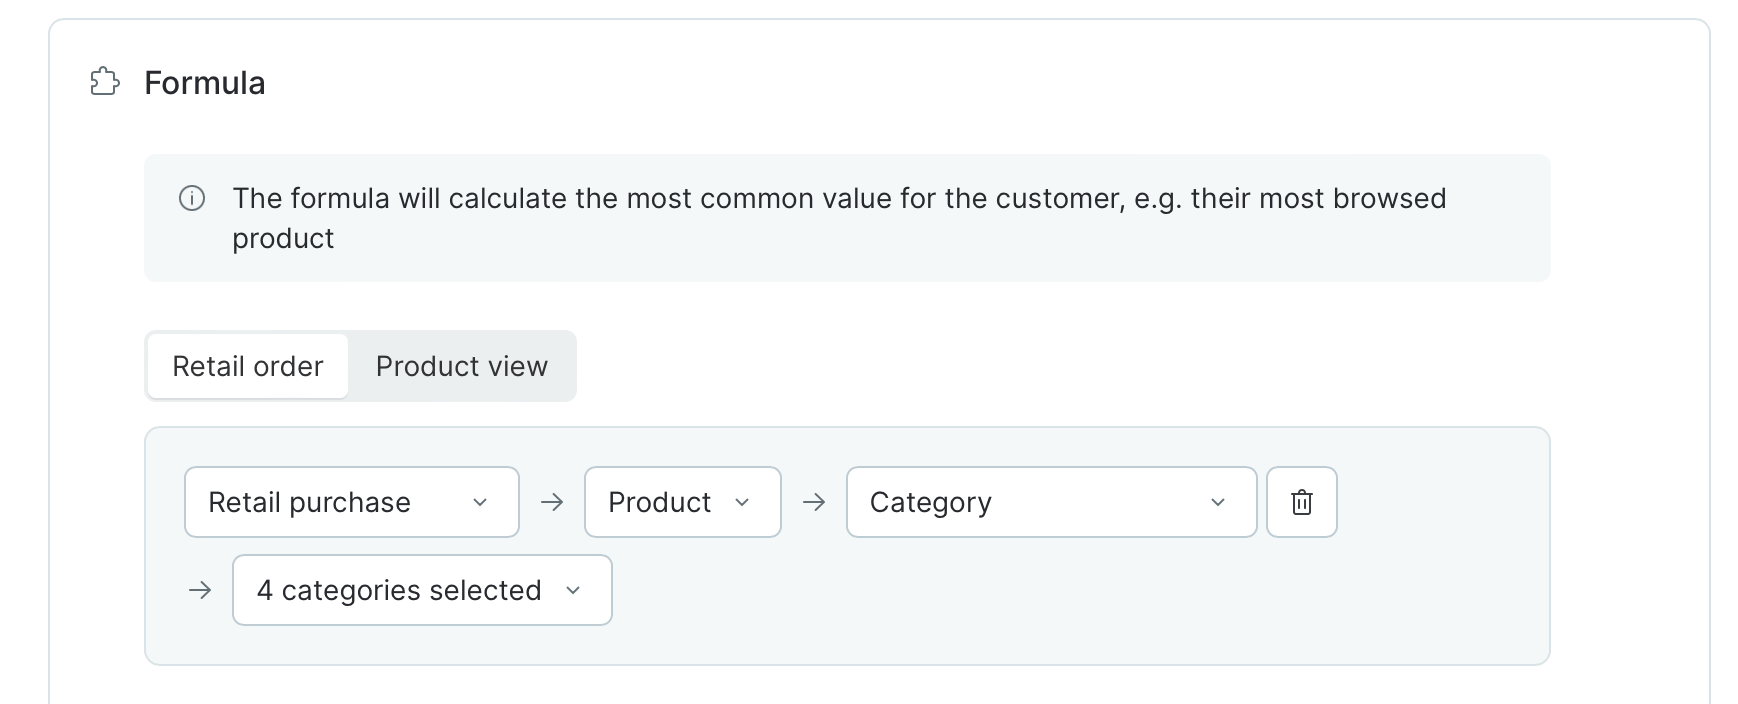
Important: You cannot select a parent and child category at the same time

- Manufacturer
- Product’s custom field - string, integer and enumerated field types are available.
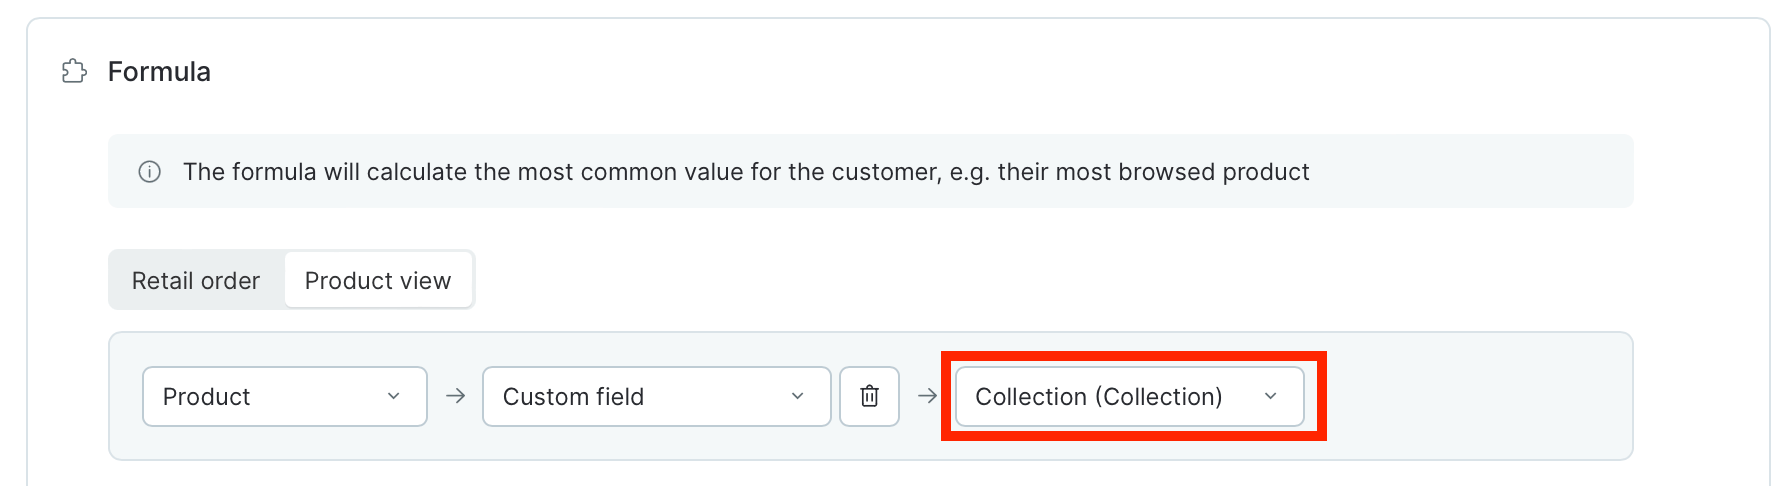
- Order’s custom field - string, integer and enumerated field types are available.
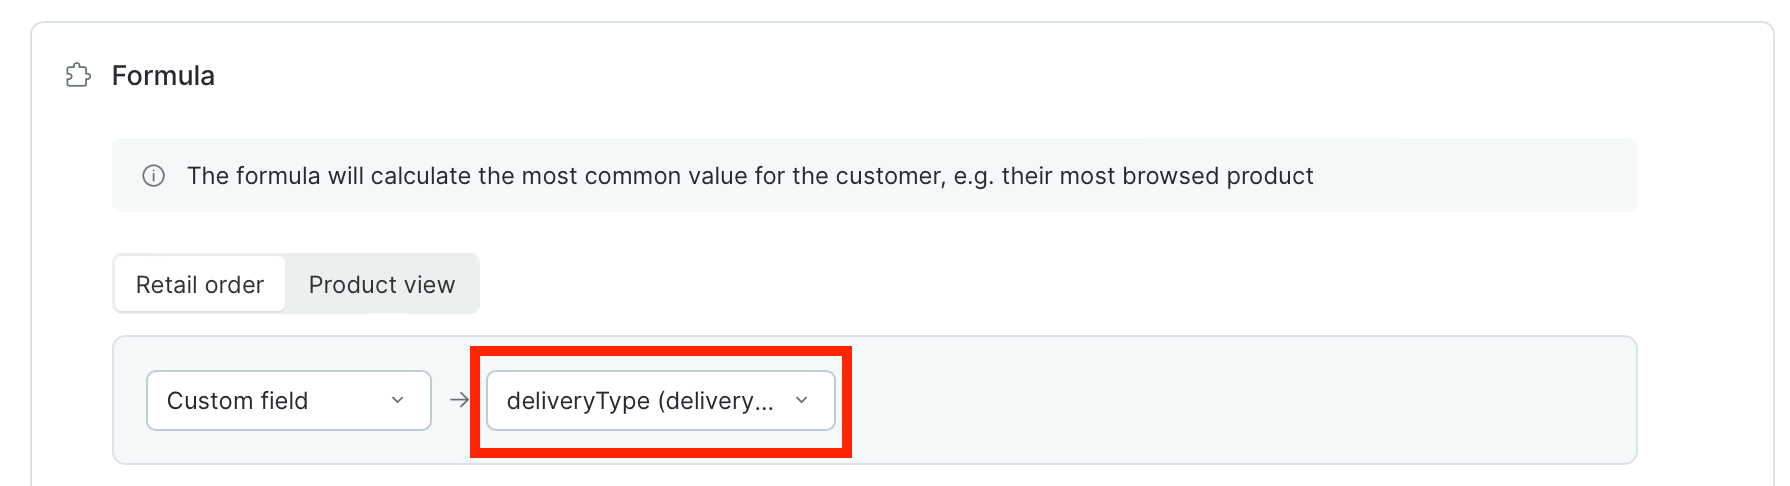
- Order’s touchpoint
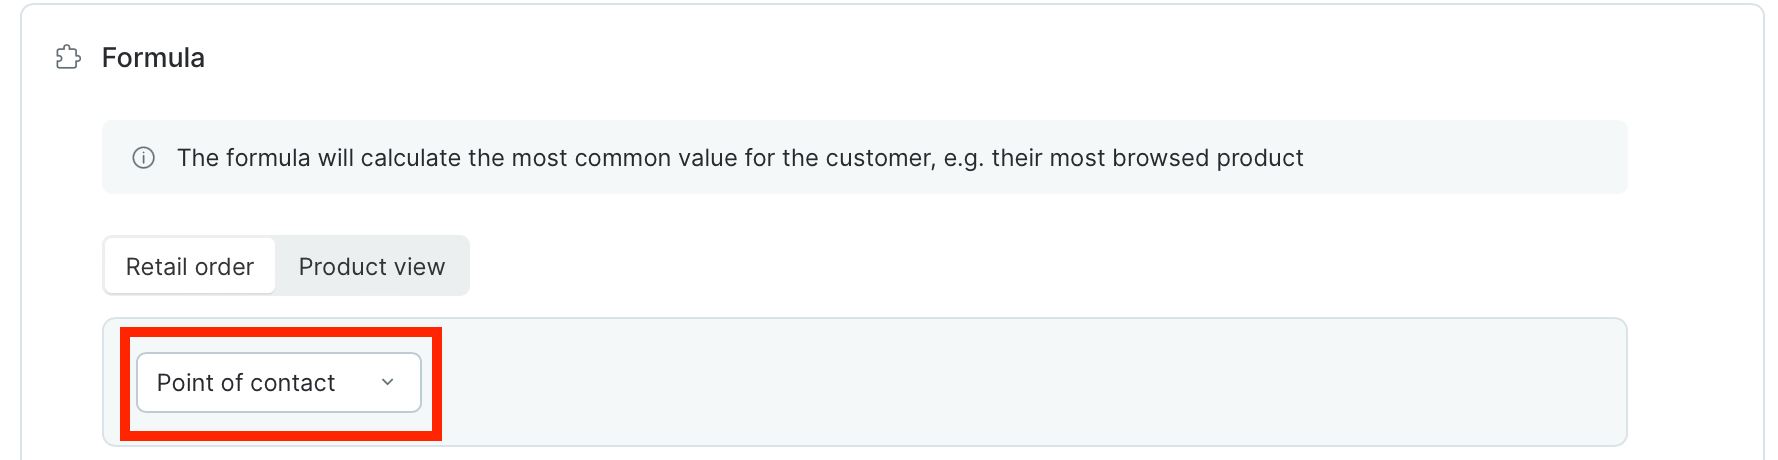
Additional conditions - allow you to narrow the selection of data among which the calculation will take place.
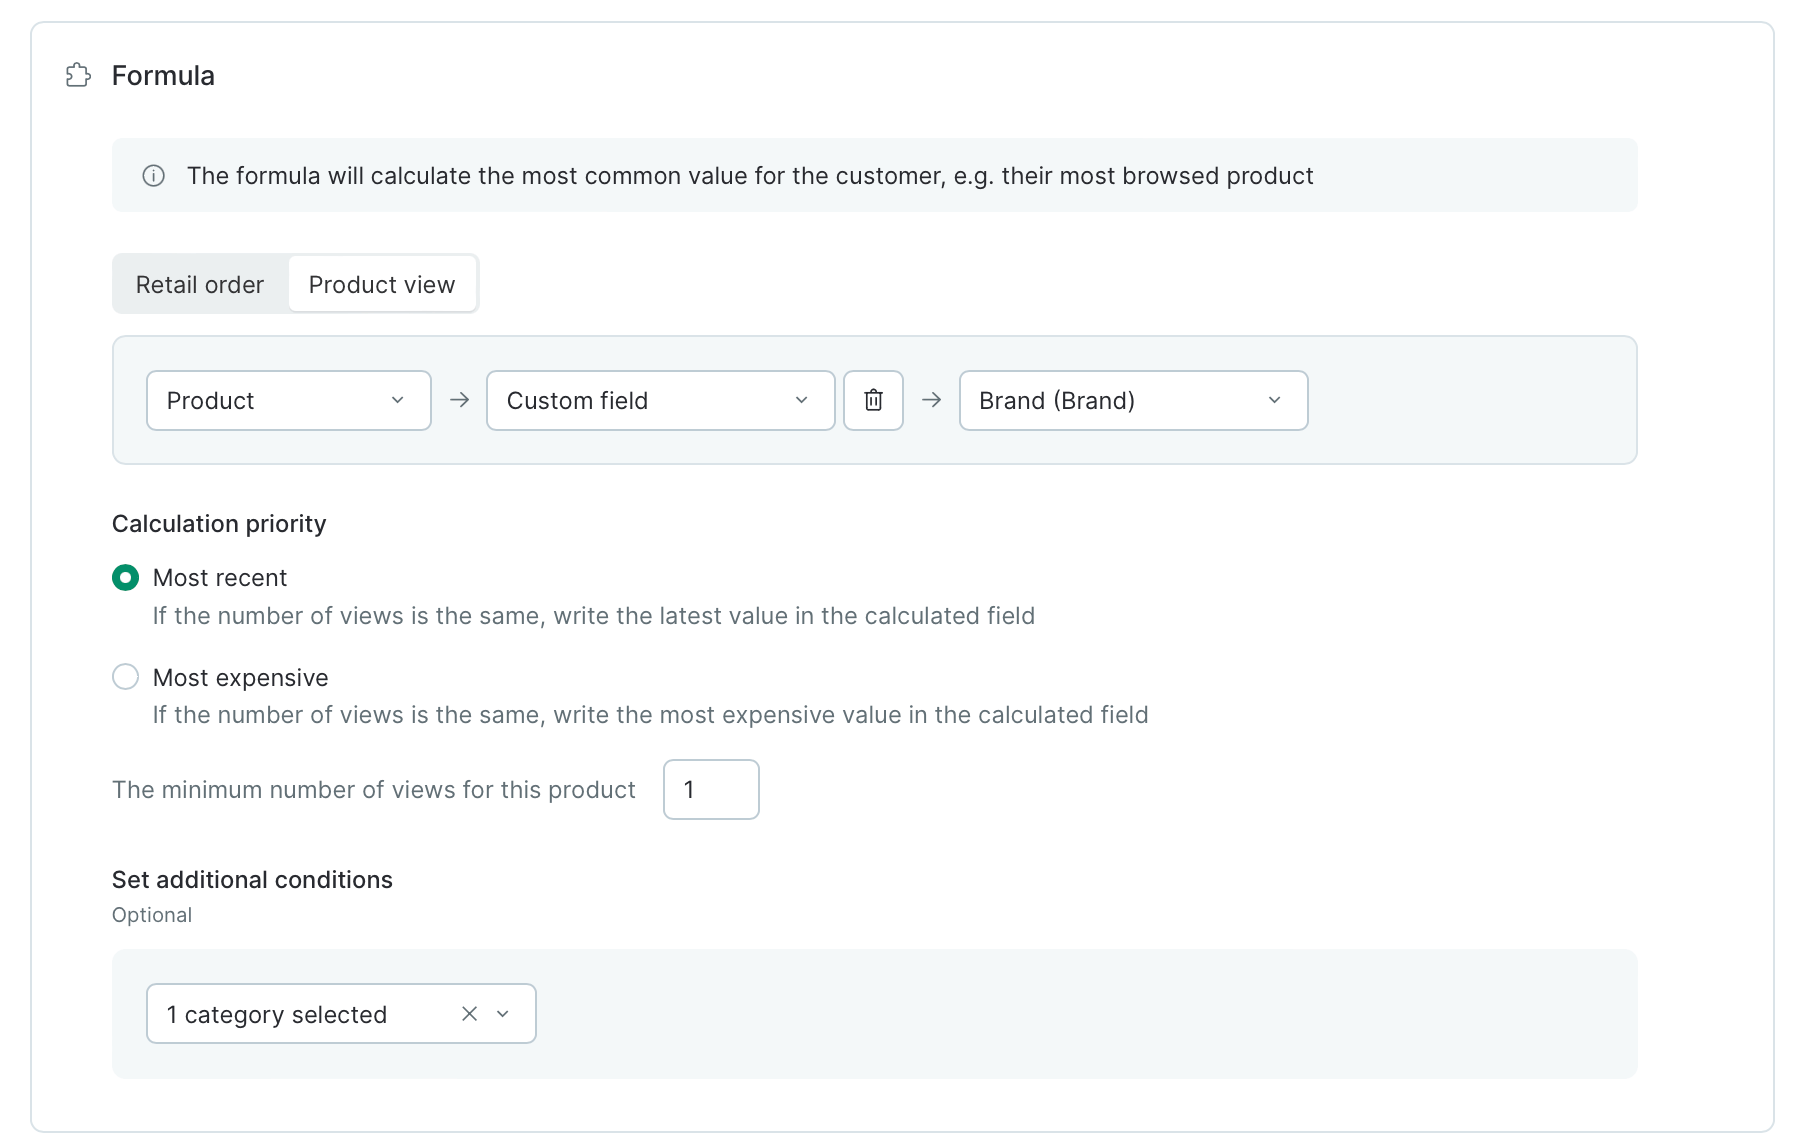
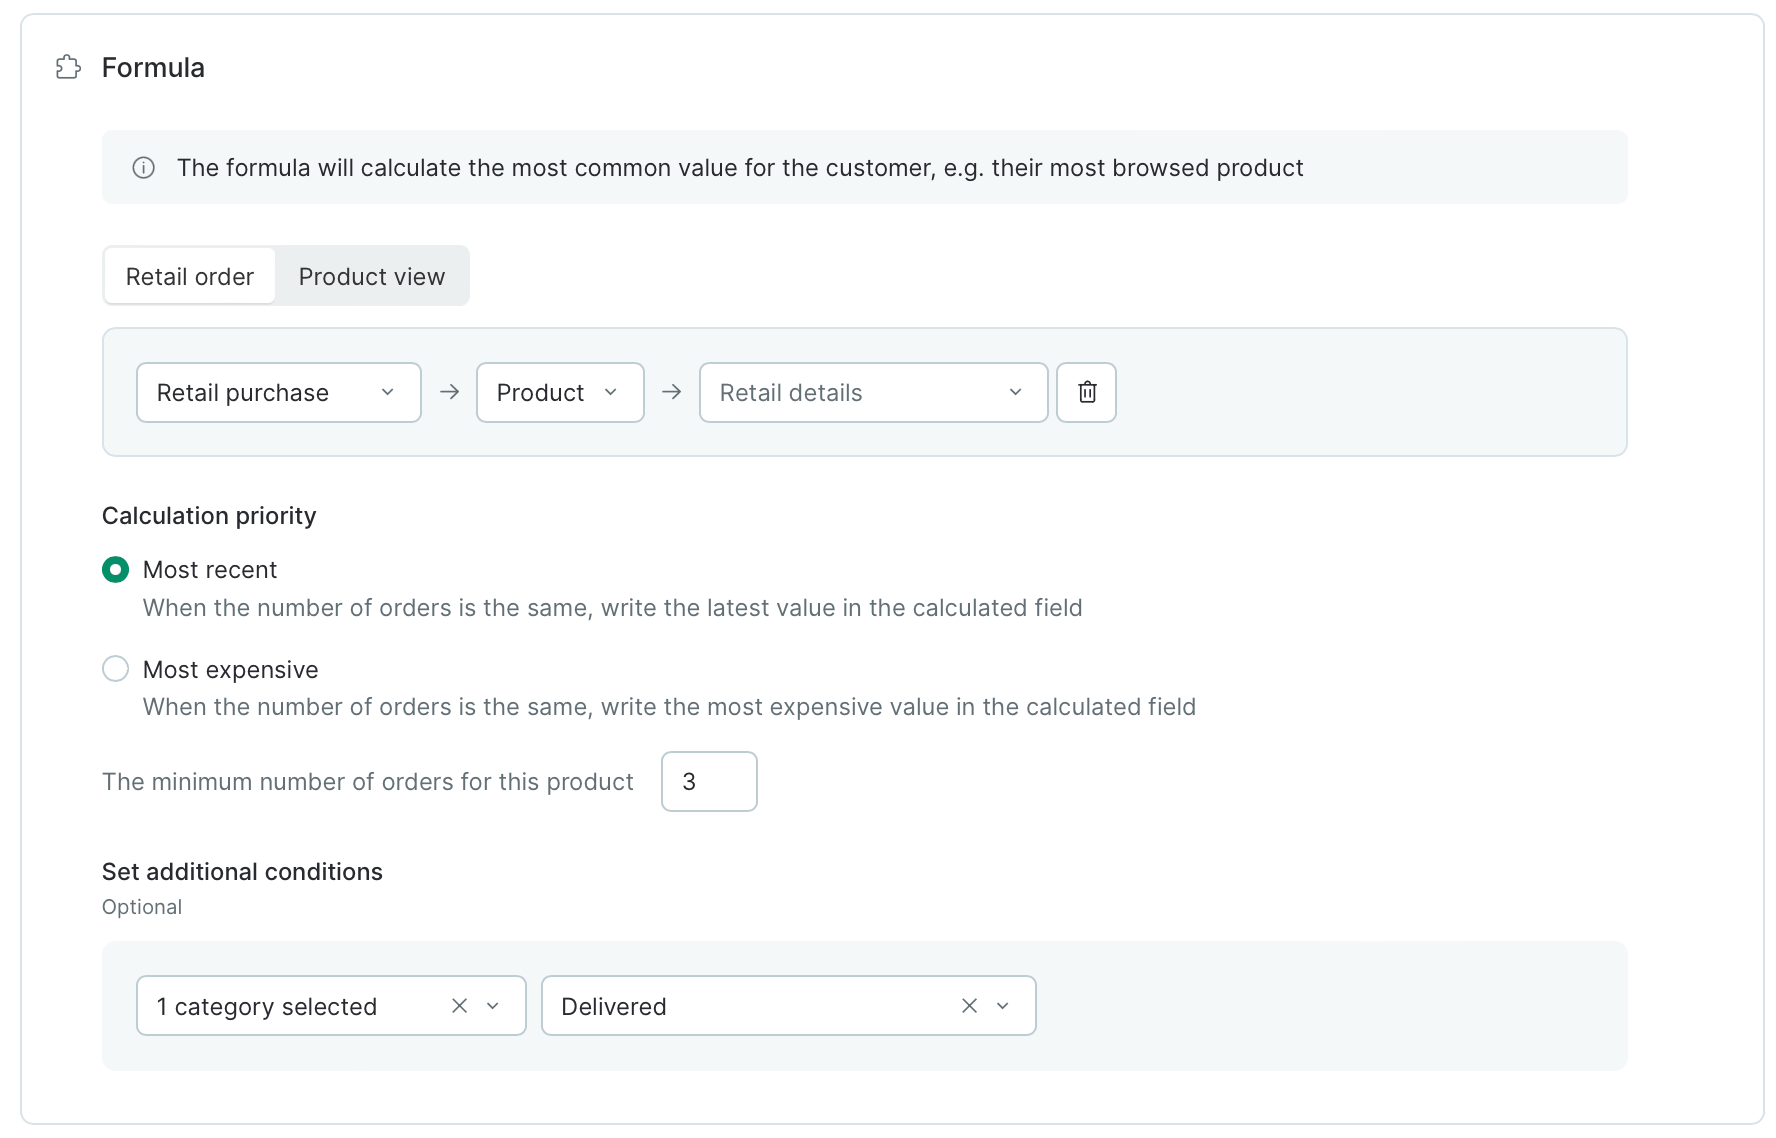
Minimum views/orders for this product is the action number threshold for the value to be filled in the field.
You can also set the Calculation priority:
- Most recent
- Most expensive
- Click “Save”
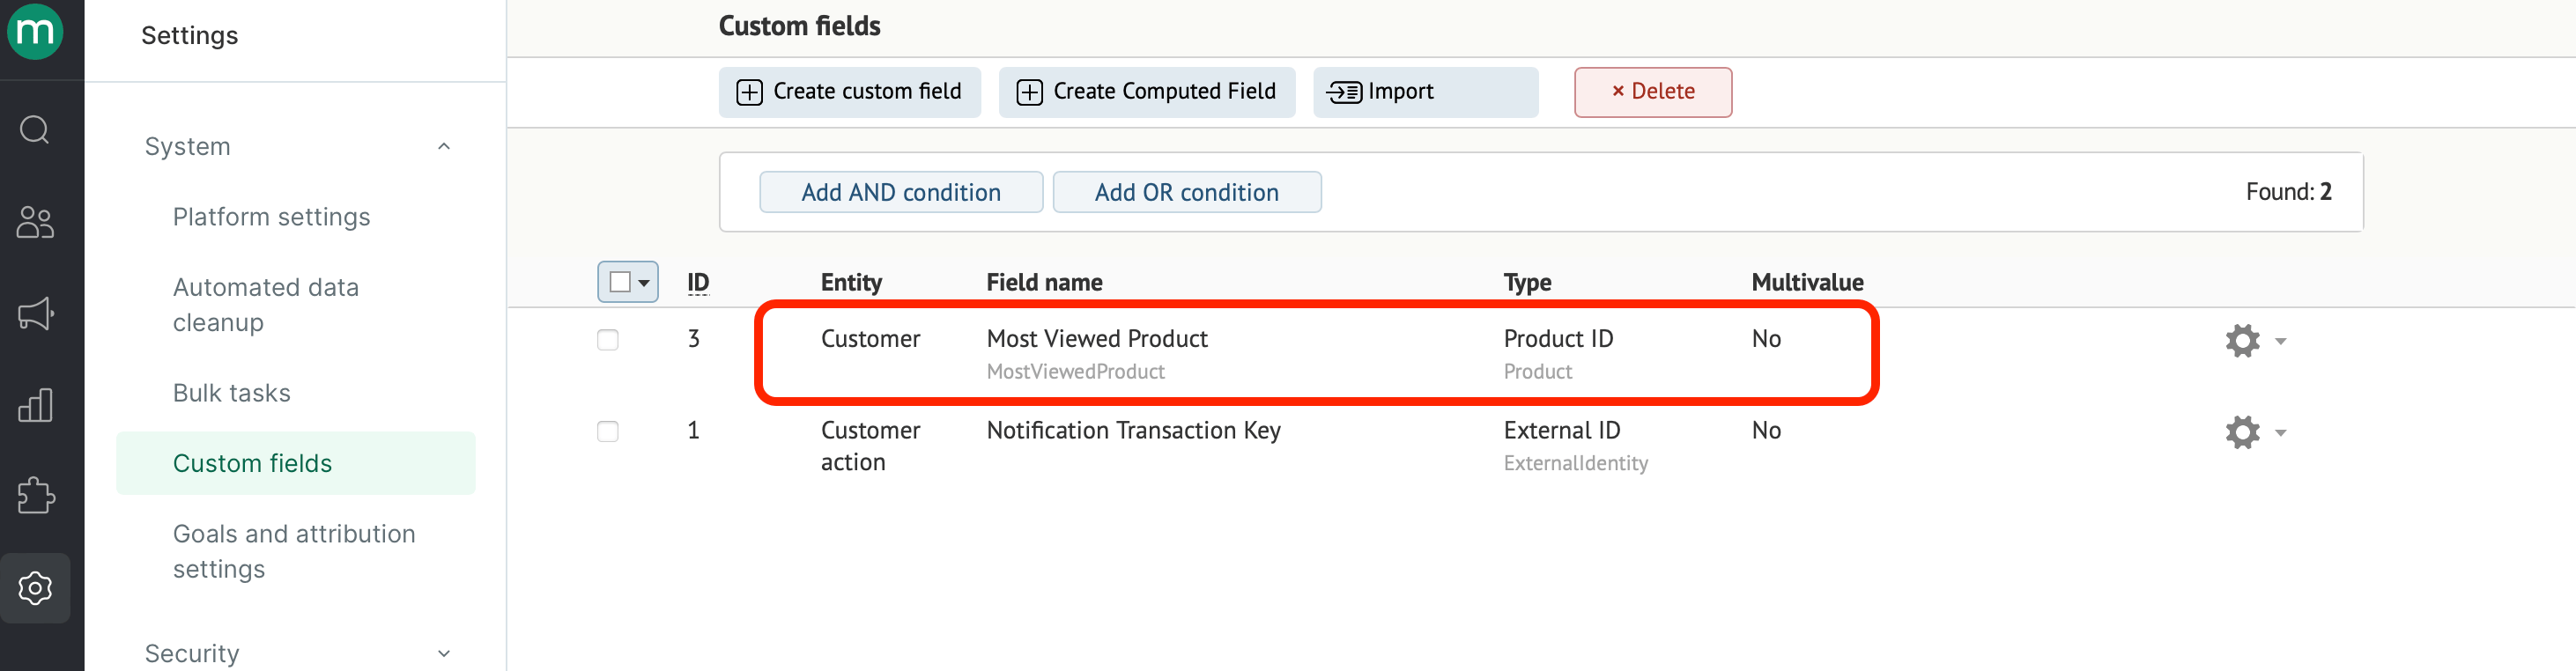
Filed computing is launched at night.
Customer search
Custom and computed fields are located in the same tab in your customer card:

Display in the campaign
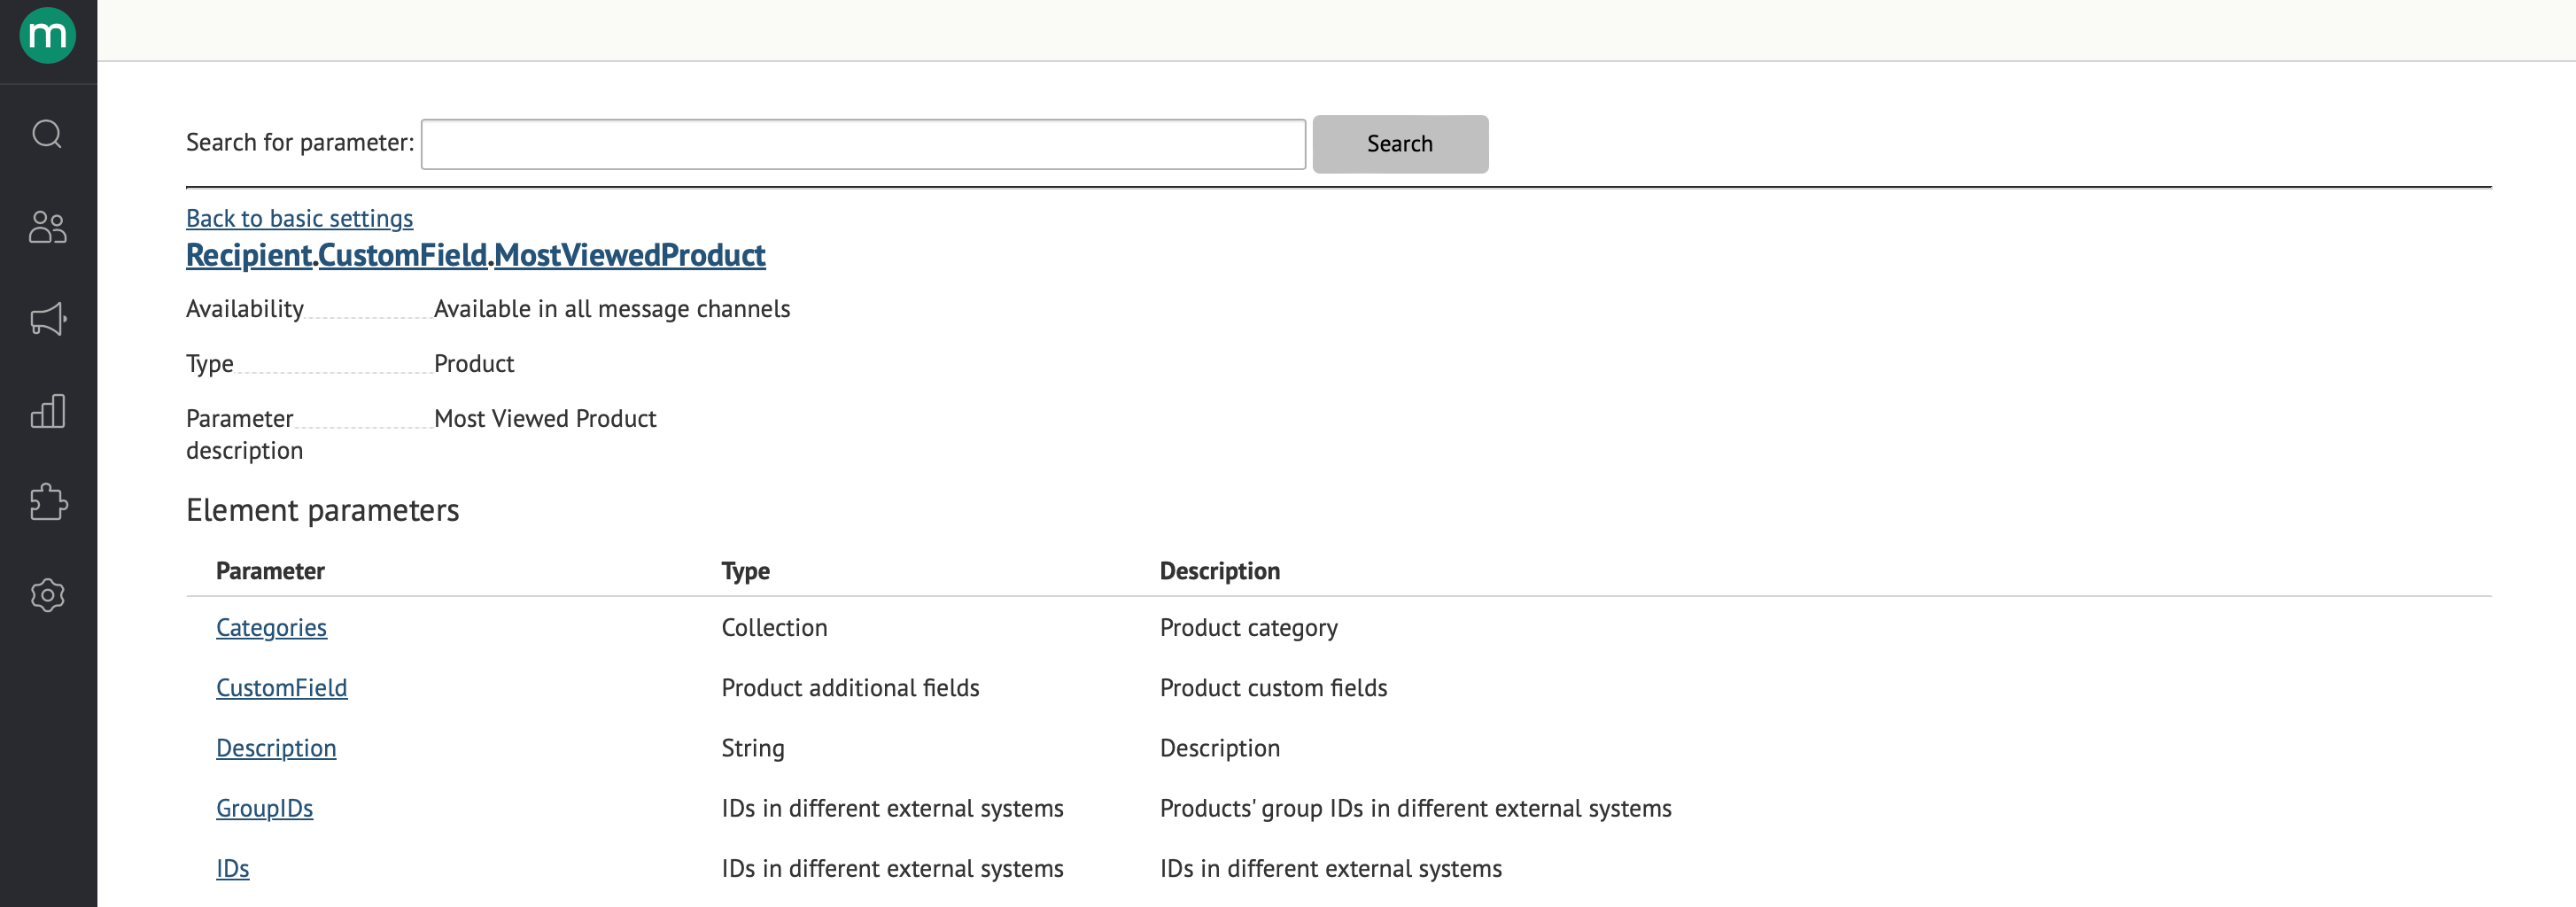
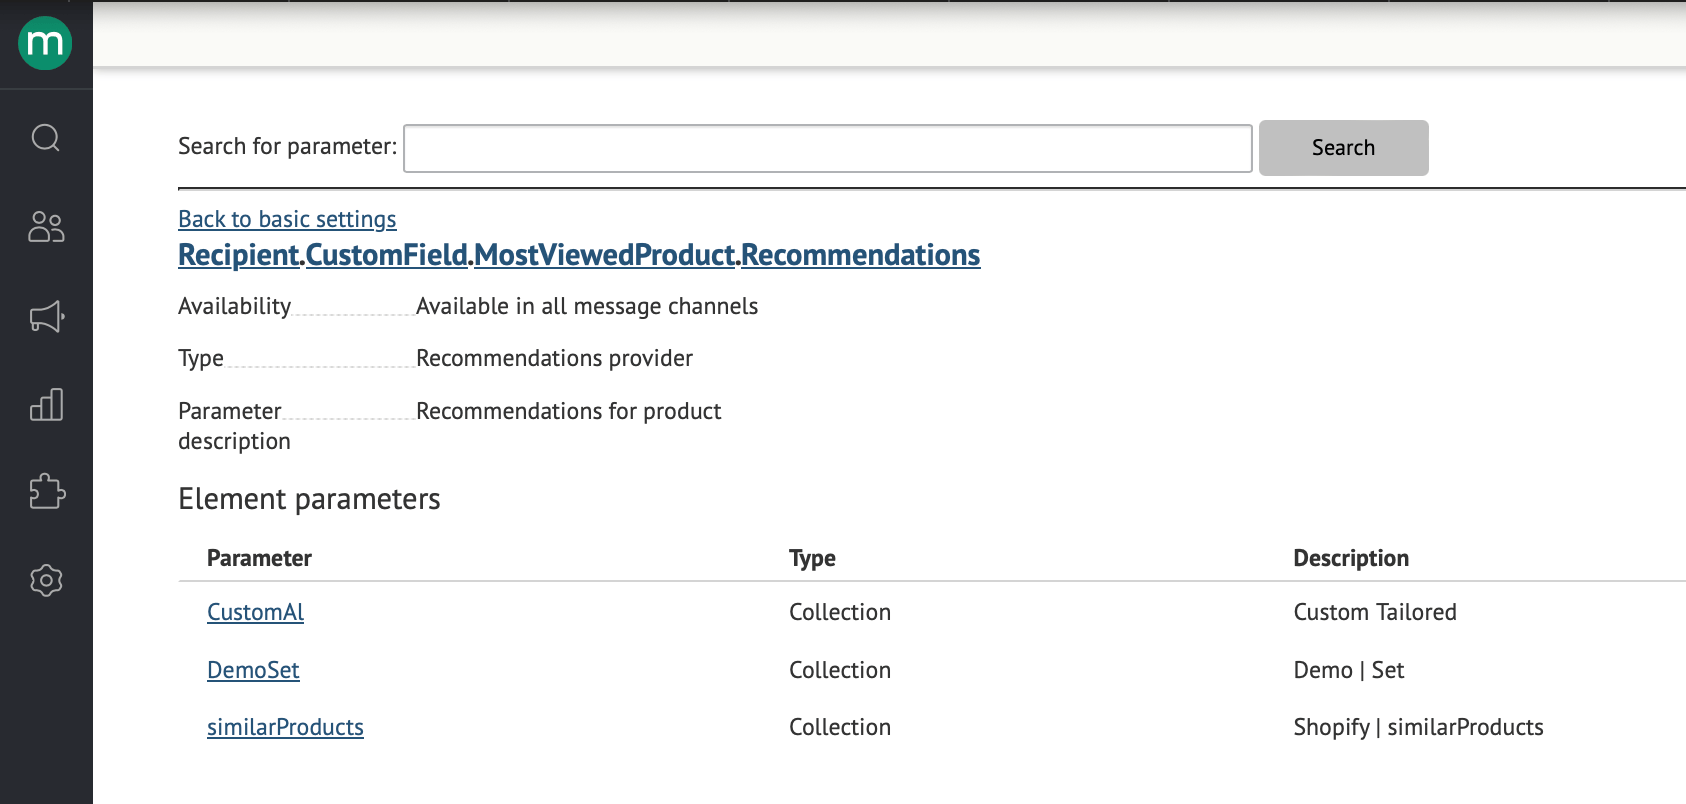
Computed field parameters are listed in Recipient.CustomField To display products for a customer, use a parameter of this type: Recipient.CustomField.{Filed system name}. The available parameters depend on the type of calculated field.- If you defined the product - all parameters for the product are available:
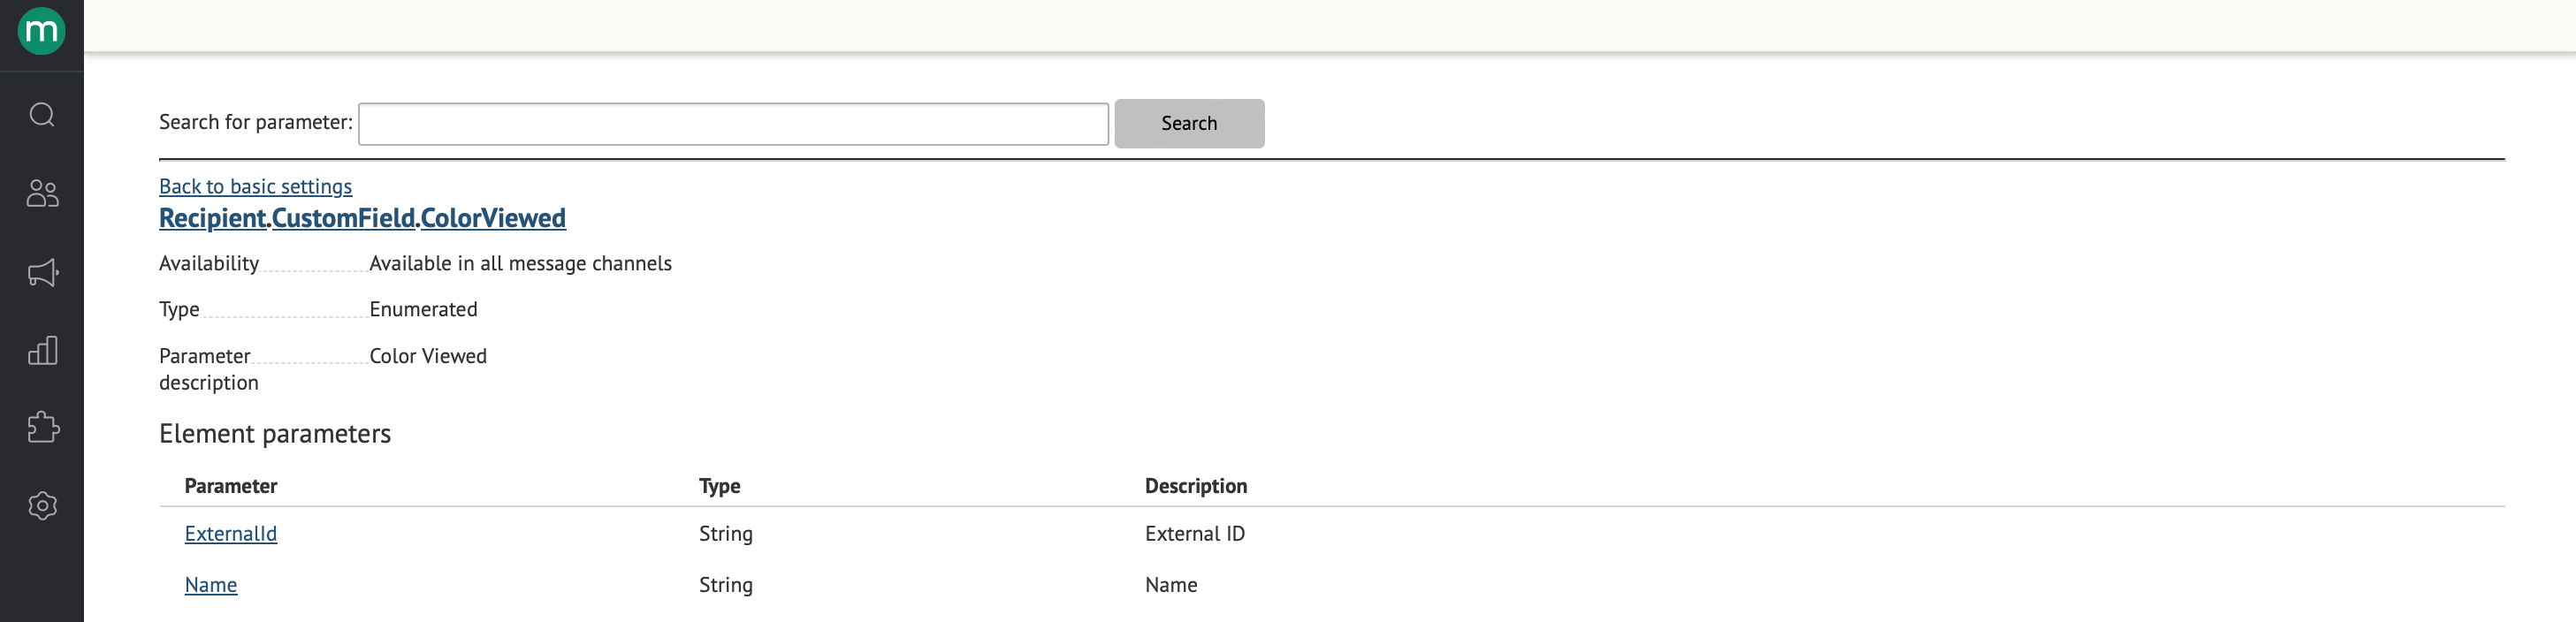
- If you were looking for the most common value of the custom field - parameters for displaying this field are available:
Use in the flow
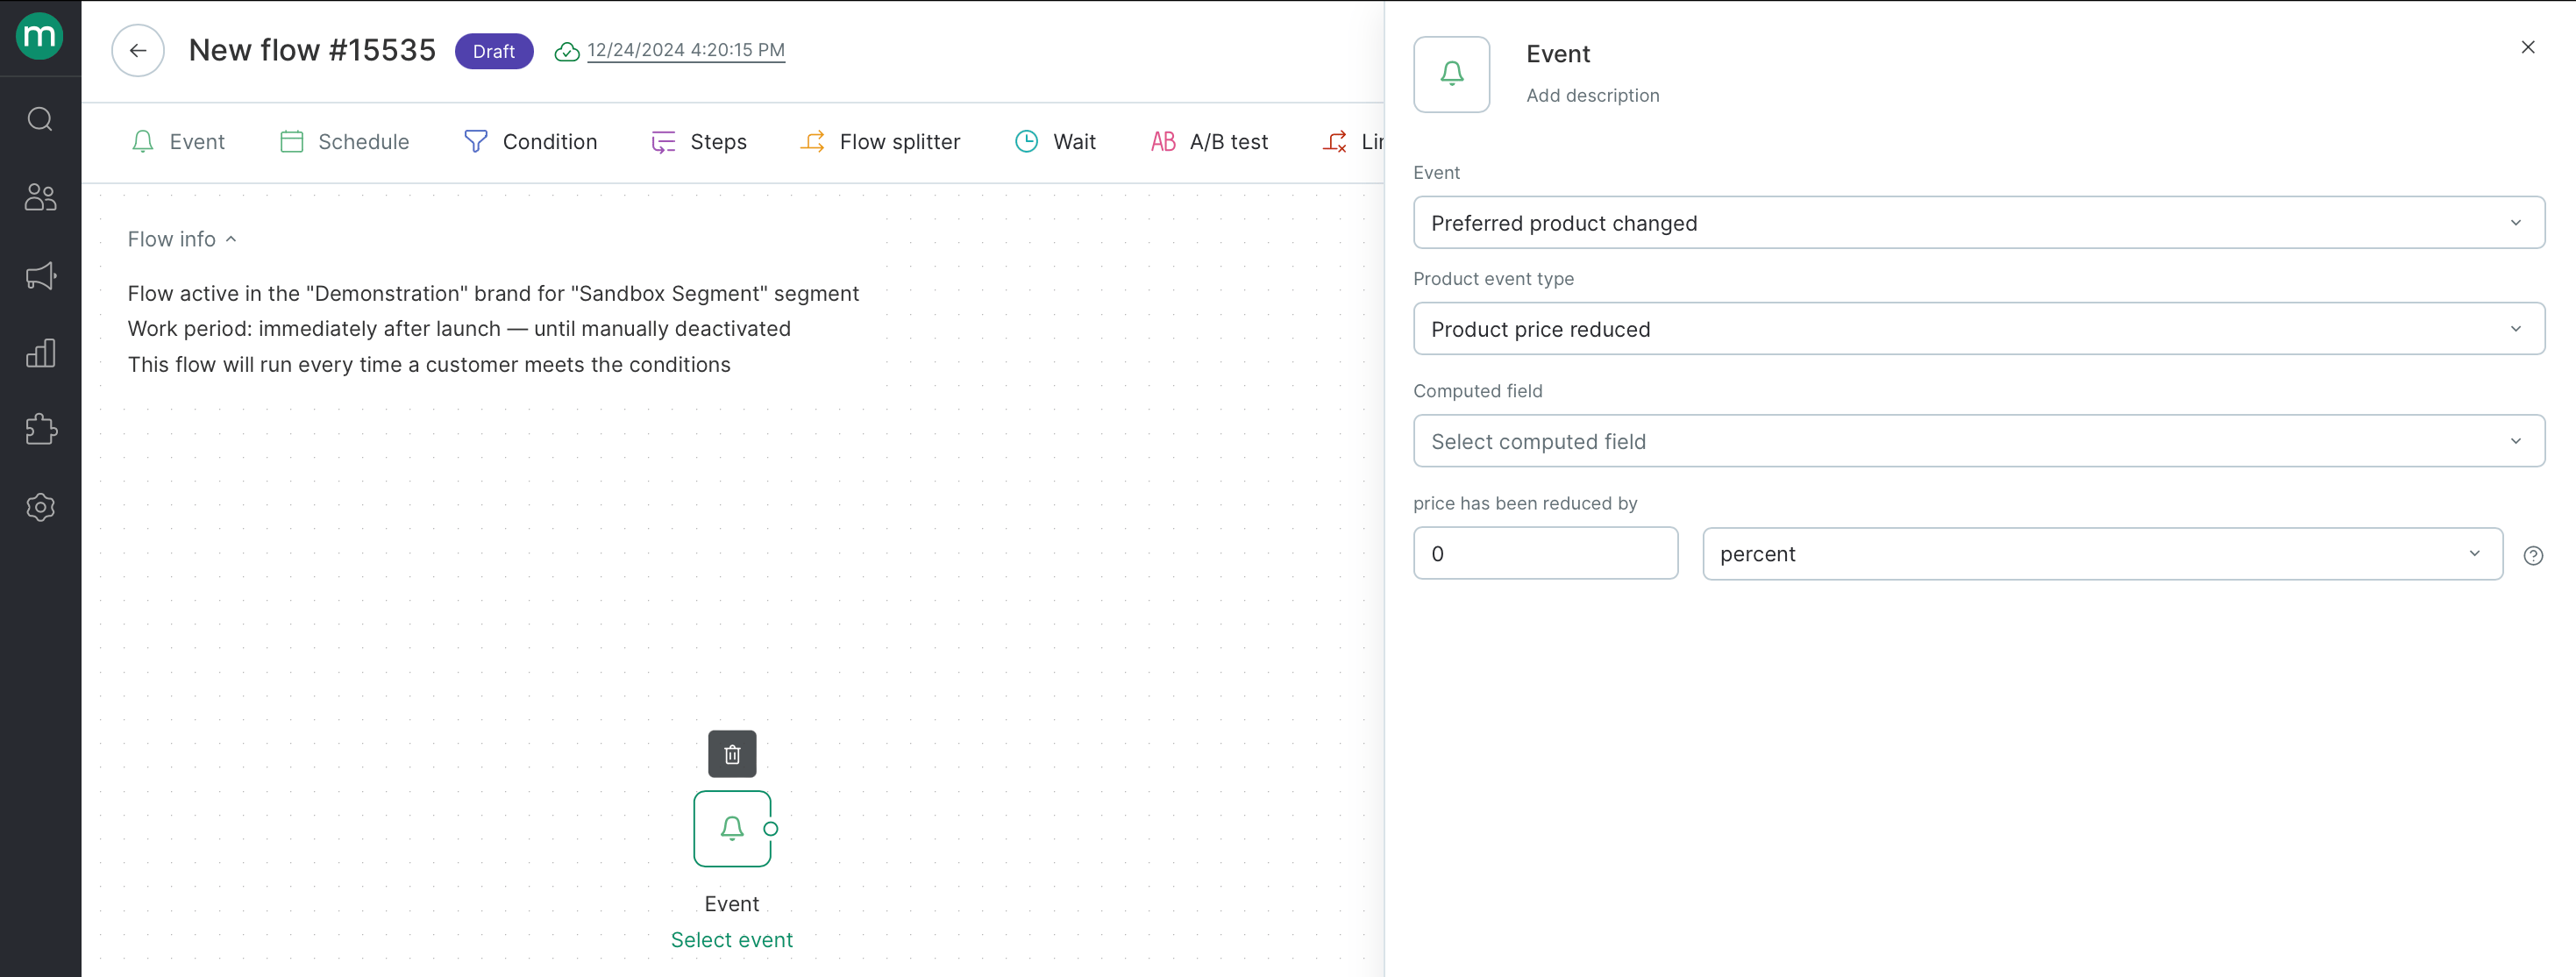
In the flow you can use “Preferred product changed” event, which allows you to react to a decrease in the cost of a product from a calculated field: